Animal Hospital Enemies
9 confirmed enemies. Know what to shoot, what to avoid, and what to offer coffee.
Window Anomalies
Patients inspected at the admission window. Identified through the 4-layer detection system. Handled by rejecting them before admission. See the anomaly list.
Roaming Enemies
Threats encountered in hallways, rooms, and on CCTV. Each has a unique response — shooting is rarely the answer. Only the Skinwalker requires lethal force.
Enemy Bestiary
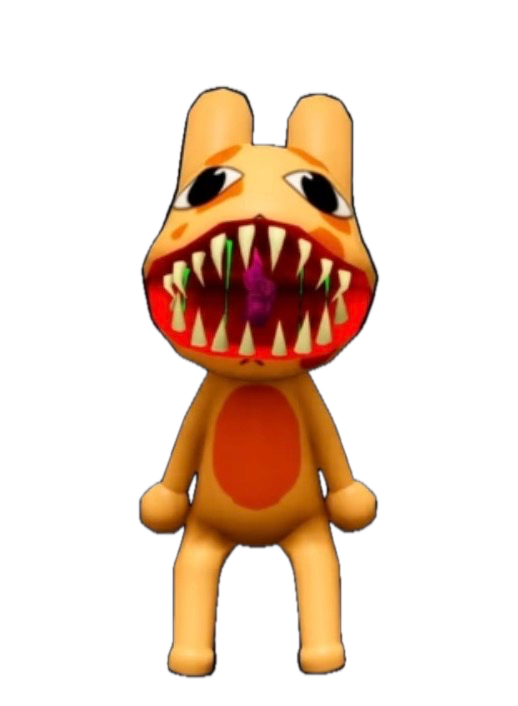
Skinwalker
Shoot on sightBehavior: Presents exactly like a normal patient through visual and photo layers. Passes all standard checks. Only CCTV reveals its true form. If admitted, transforms and attacks.
How to handle: This is the ONLY enemy you should shoot. If CCTV confirms a Skinwalker, use the gun immediately. Do NOT just reject — a Skinwalker must be eliminated.
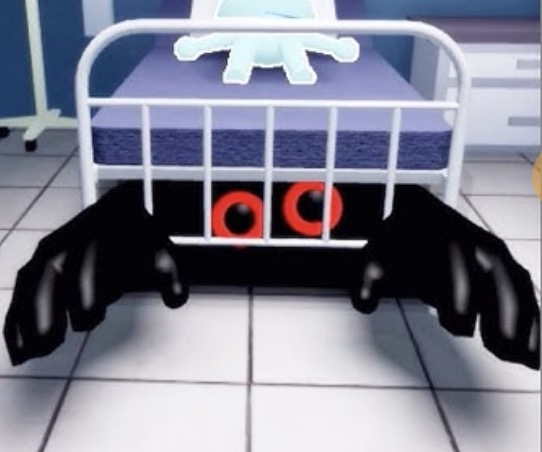
Bed Monster
Behavior: Lurks under beds in patient rooms. Attacks when a player approaches the bed. Can be detected by subtle bed movement or audio cues before it strikes.
How to handle: Check under beds from a distance before approaching. If a bed is shaking or making noise, keep distance and report it. Do not engage directly.
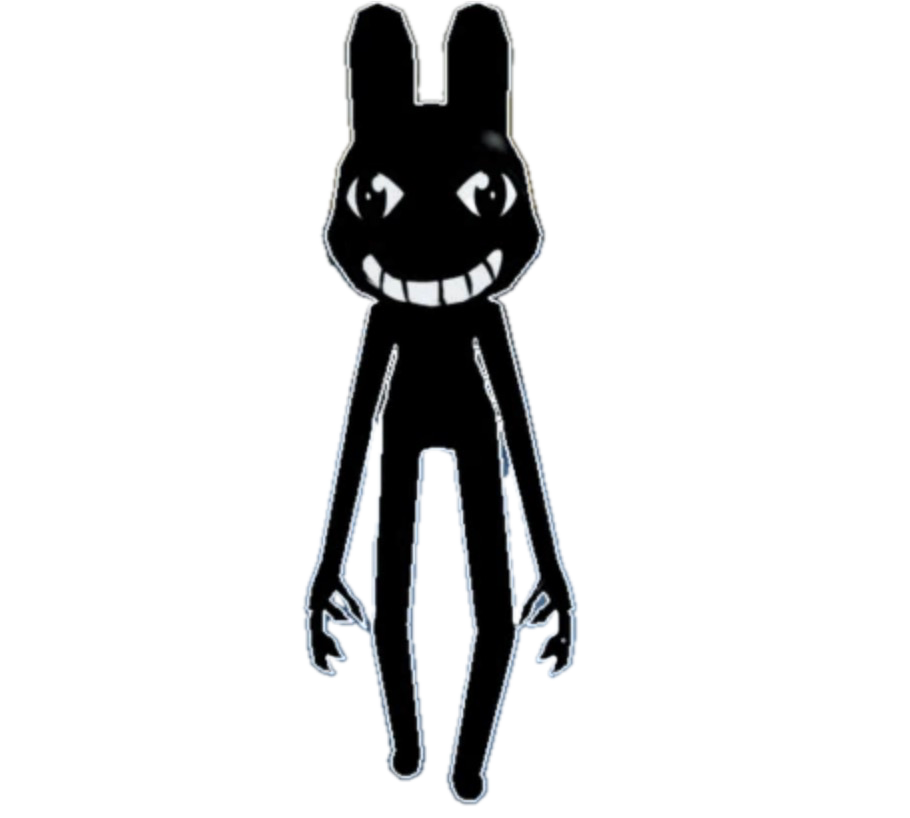
Stalker
Behavior: The July update added two contextual encounters: it can appear at the check-in area for a photo response, and it can pressure players near the office when watched for too long.
How to handle: If it appears at check-in, take its photo to clear the interaction. If it appears near the office, do not hold eye contact; break away, keep moving, and use corners or team callouts to avoid being trapped.
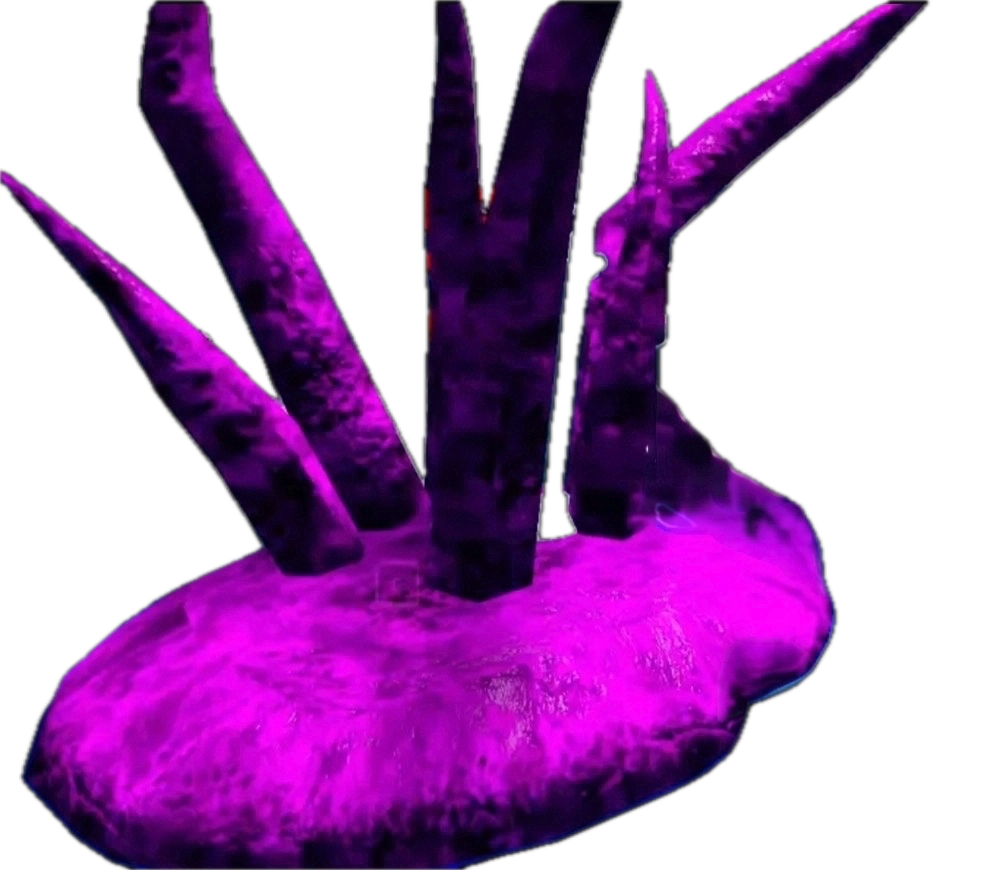
Surgery Tendril
Behavior: Extends from medical equipment to grab nearby players. Pulls victims toward the source. Highly dangerous in confined spaces like surgery rooms.
How to handle: Never shoot it — shooting causes it to multiply or become more aggressive. Evade and avoid the surgery room until the tendril retracts. Close doors to contain it.
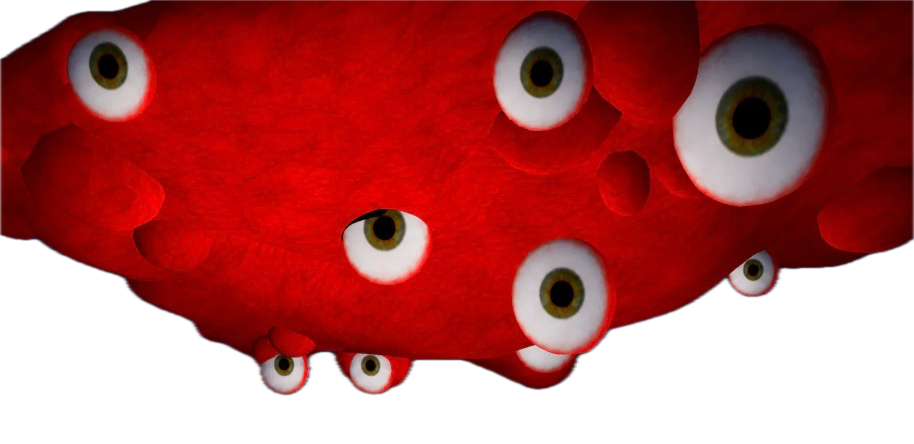
Mass of Eyes
Behavior: Attaches to ceilings in hallways and rooms. Watching it causes sanity drain. The more you look at it, the faster your sanity depletes.
How to handle: Do not look up at it. Navigate past while keeping your camera angled down. Warn teammates about its location so they can avoid eye contact.

Hiders
Behavior: Conceals itself in walls and emerges when players pass by. Hard to detect until it reveals itself. May grab or attack passing players.
How to handle: Watch walls for unusual cracks, bulges, or movement. Keep distance from suspicious wall sections. Report wall anomalies when spotted.
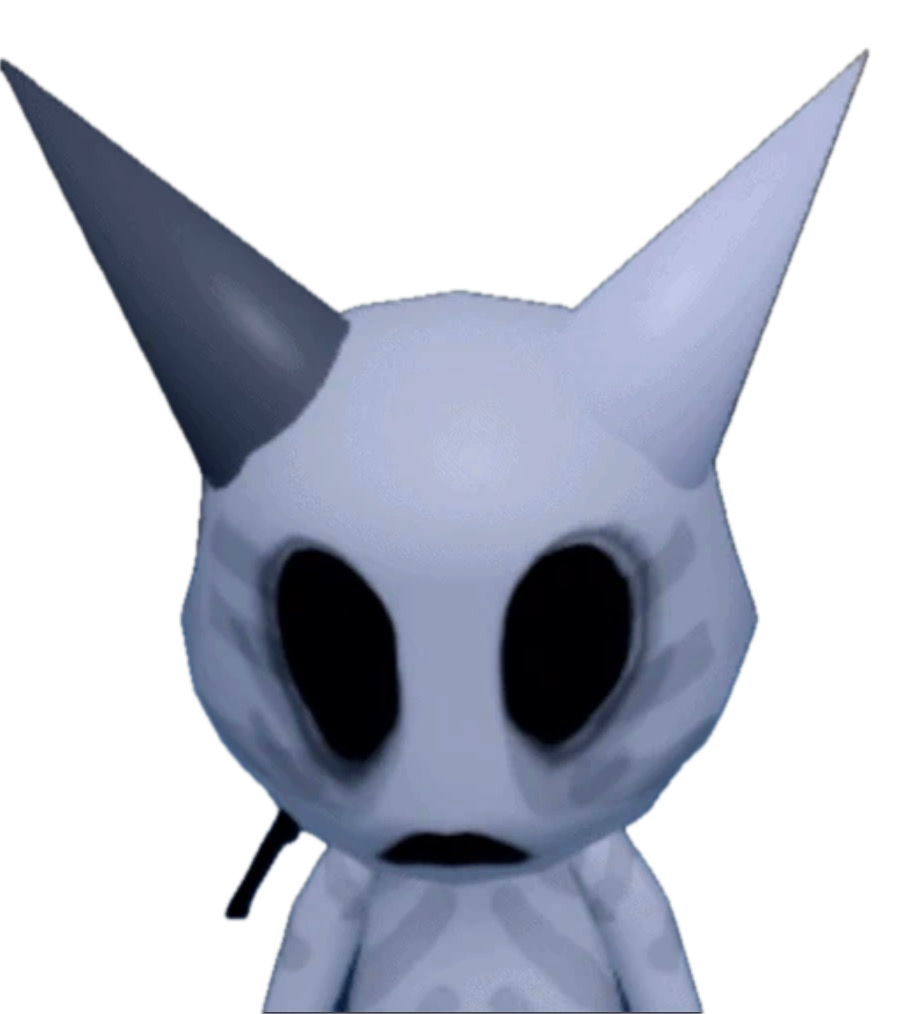
Head Banger
Behavior: Found in hallways or rooms, rhythmically banging its head. Disturbing to witness but not directly aggressive unless provoked.
How to handle: Offer it a coffee — this calms the Head Banger and neutralizes the threat. Shooting is ineffective and a waste of resources. Coffee is the only correct response.
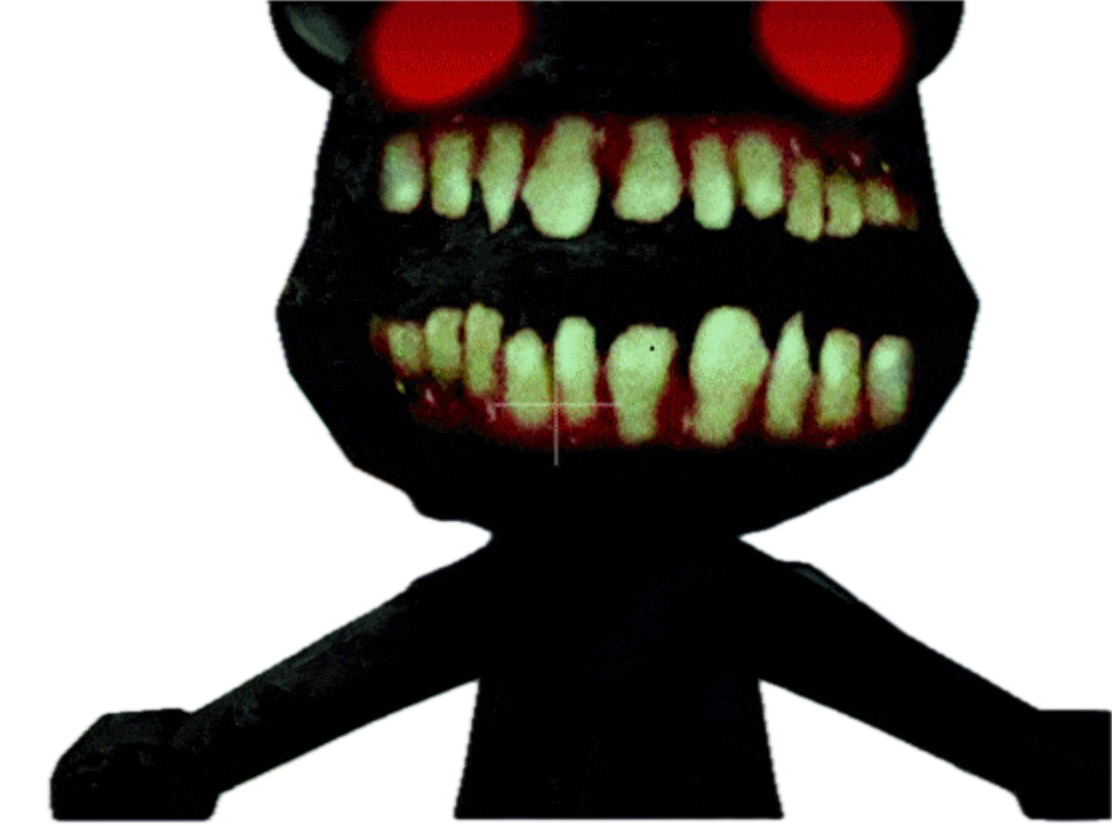
Camera Figure
Behavior: Visible only through camera feeds. Moves through areas that appear empty in person. Can interact with the environment despite being invisible.
How to handle: Monitor CCTV regularly. If a Camera Figure is near your location, avoid that area or proceed with extreme caution. It cannot be engaged directly — only avoided.
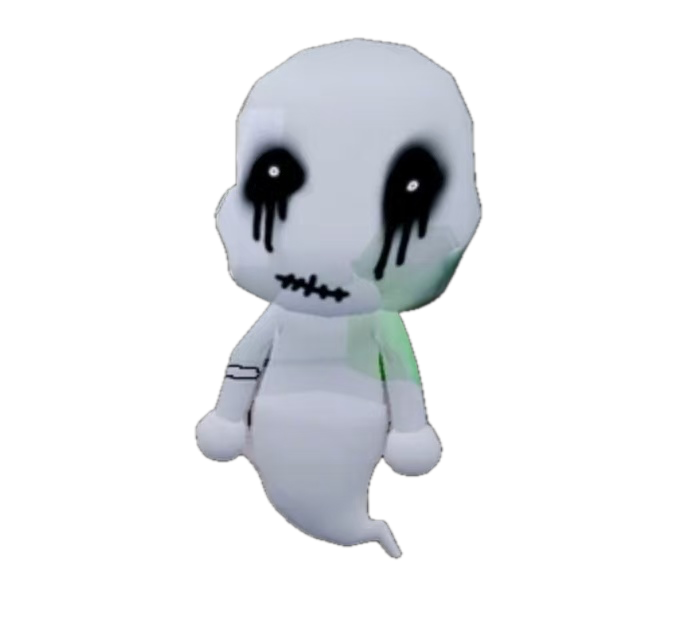
Ghost
Behavior: Applies pressure by appearing around the hospital and forcing players to break routine. It is safer to avoid and reposition than to chase.
How to handle: Keep distance, call out its position, and avoid letting it interrupt critical patient checks. Do not waste bullets unless a live-game prompt specifically says otherwise.
Shoot or Avoid: Quick Reference
| Enemy | Threat | Shoot? | Correct Response |
|---|---|---|---|
| Skinwalker | Extreme | YES — Shoot it | Shoot with gun — only lethal option |
| Bed Monster | High | NO — Do not shoot | Check beds from a distance — do not engage |
| Stalker | High | NO — Do not shoot | Photo at check-in; avoid prolonged staring near the office |
| Surgery Tendril | High | NO — Do not shoot | Evade and avoid — shooting makes it worse |
| Mass of Eyes | Medium | NO — Do not shoot | Don't look up — avoid eye contact |
| Hiders | Medium | NO — Do not shoot | Keep distance — report and avoid |
| Head Banger | Medium | NO — Do not shoot | Offer coffee — it calms down |
| Camera Figure | Medium | NO — Do not shoot | Monitor CCTV — avoid its location |
| Ghost | Medium | NO — Do not shoot | Keep distance — report and avoid |
Summary Comparison
| Response type | When to choose it | Typical use case | Why it works |
|---|---|---|---|
| Shoot | Only when the threat explicitly requires lethal force | Skinwalker-type responses | Bullets are usually the exception, not the rule |
| Avoid | Environmental or line-of-sight threat | Bed Monster, camera pressure, gaze traps | Distance is safer than forcing an interaction |
| Distract or reposition | Roaming pressure without a lethal answer | Stalker-style hallway trouble | You need space more than damage |
| Use an item response | Threat has a specific counter item | Coffee-like utility answers | Correct item use is more reliable than panic reaction |
Final recommendation
The fastest way to lose to enemies is to treat them all like one category. This page is strongest when you use it to separate responses: what must be shot, what must be avoided, and what becomes easier once you stop forcing a weapon answer where none exists.
Enemy FAQ
Which enemies can I shoot?
Only the Skinwalker should be shot — and it MUST be shot to eliminate it. Most other enemies (Surgery Tendril, Bed Monster, Stalker, Mass of Eyes) are immune to bullets or become more dangerous when shot. The Camera Figure cannot be shot at all. Check each enemy card for the correct response before engaging.
What's the difference between roaming enemies and window anomalies?
Window anomalies are patients you inspect at the admission window — they fail one of the 4 detection layers and are handled through the reject/report action. Roaming enemies are threats you encounter in hallways, rooms, and via CCTV. They are separate threat categories: anomalies are rejected at the window, enemies must be survived or neutralized in the hospital.
How do I deal with the Bed Monster?
The Bed Monster is an environmental enemy that hides under patient beds. It grabs players who get too close. Do not shoot it — bullets are ineffective. The correct response is to keep distance and avoid its room when possible. In multiplayer, one player can distract it while another treats the patient.
What does the Stalker do?
The July update added contextual Stalker interactions. Photograph it when it appears at check-in; near the office, avoid prolonged staring, disengage, and use corners or team callouts. It cannot be shot.
How dangerous is the Skinwalker compared to other enemies?
The Skinwalker is the most dangerous enemy because it bypasses the admission window entirely — it passes visual and photo checks and only reveals itself on CCTV. Unlike other enemies that are obviously hostile, the Skinwalker blends in as a patient. If you miss it at the window and admit it, it becomes a roaming threat inside the hospital.
Can multiple enemies appear at the same time?
Yes, especially on higher shifts (5+). You may have a Stalker in the hallway, a Bed Monster in a patient room, and a Head Banger at the window simultaneously. Prioritize based on immediate threat: Head Bangers (at the window, disrupting admissions) first, then Stalkers (roaming, cornering you), then environmental threats like Bed Monsters.